No Holes, No Headaches: Building a Gaming PC in a Rented Flat Without Upsetting the Landlord
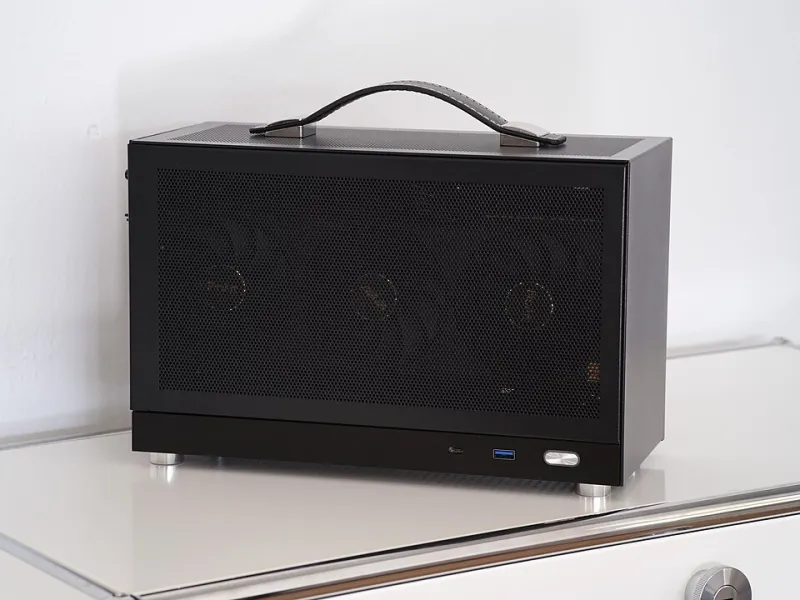
Photo: Dllu, CC BY-SA 4.0, via Wikimedia Commons
There is a particular flavour of panic that comes with drilling your first rawl plug into a wall you do not own. Most renters simply skip it, which is why so many gaming setups in rented flats end up as a monitor balanced on a stack of paperbacks and a tower PC slowly cooking itself under a desk. You do not need permission for any of that, and you do not need to accept it either.
What follows is the approach we would take if we were moving into a one-bed flat with an assured shorthold tenancy, a party wall thinner than a biscuit and a deposit we would quite like back.
Choose the case before you choose the cable route
Floor space is the real currency in a rented flat, and a mid-tower with a glass panel eats a surprising amount of it. A micro-ATX mini tower or a compact mesh case gives you the same parts compatibility in roughly two-thirds of the footprint, which means it can live on the desk, beside the desk or on a slim shelf rather than on the carpet where the PSU intake becomes a vacuum cleaner.
Good starting points are the Fractal Design Pop Mini Air, the Lian Li A3-mATX and the Cooler Master NR200P, all of which are easy to find in the UK and all of which fit a normal ATX power supply and a reasonably tall air cooler. Smaller also means lighter, and lighter means the end-of-tenancy move is a two-trip job rather than a removal van.
Nothing needs to touch the wall
This is the single most useful rule in rented accommodation: build the whole setup around the desk, not the room. The desk is your furniture, and you can clamp things to furniture.
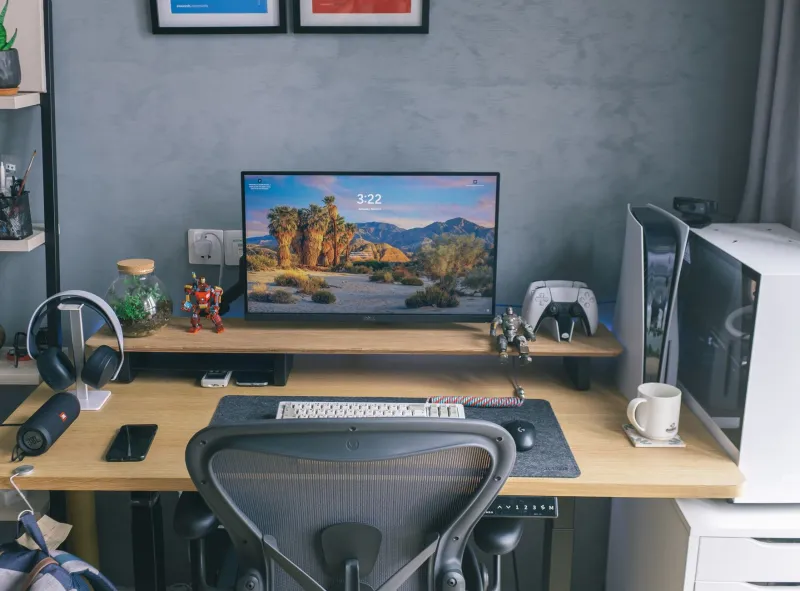
A desk-clamp monitor arm replaces the wall bracket entirely, but check your desk first. Anything under about 20mm of chipboard will flex, and a hollow-core Argos special will eventually crush under the clamp. A steel reinforcement plate under the desk surface costs about a tenner and solves it. Clamp-on power strips do the same job for your sockets, and an under-desk cable tray keeps the whole spaghetti mess invisible from the doorway, which is the angle that actually matters during an inspection.
Adhesive cable clips are fine, but only in the right places. The 3M Command-style removable strips are the sensible option because they come off cleanly when you pull the tab parallel to the surface rather than outwards. Test one on a hidden patch of paint first, warm the strip with a hairdryer on low before you stick it, and never trust adhesive with anything heavier than a single cable. Avoid the heavy-duty VHB foam tapes on painted or papered walls entirely, because they will take the paint with them and that is a deposit conversation you do not want to have. If a route really needs to run up a wall, use a free-standing cable trunking that sits on the skirting rather than one that is glued to the plaster.
Power without an electrician
You are not rewiring anything, and you should not be running extension leads through a doorway either. A single 13A surge-protected strip, clamped to a desk leg and plugged into a socket you can actually reach, is all a normal gaming rig needs. Do not daisy-chain strips, do not coil a loaded extension lead into a tight loop under the desk, and if the socket feels warm after an evening of gaming, stop and speak to the letting agent rather than ignoring it.
Keep the strip clear of the case exhaust. A PSU that is breathing 35C air from the back of a GPU will spin its fan harder and live a shorter life, and it will also be louder, which brings us to the next point.
Quiet enough for a party wall
Victorian terraces and 1970s purpose-built blocks both transmit low-frequency noise beautifully, and a gaming PC under load is essentially a small appliance that hums. You can make a big difference without spending much.
Use the largest fans your case accepts and run them slowly. A pair of 140mm intakes at 700rpm moves more air, more quietly, than a 92mm screamer at 2,000rpm. Set a fan curve that stays flat until around 70C and then ramps, rather than one that follows every CPU spike during a shader compile. Skip mechanical hard drives if you can, because a 3.5in spinning disk in a quiet room is genuinely audible through a wall. Mount the case on felt pads or a scrap of MDF rather than directly on a wooden floor, and keep it off the shared wall by a foot or so if the room allows.
If the wall is really bad, a bit of undervolting on the GPU does more for noise than any fan swap, because it drops both the heat output and the fan speed needed to shift it.
A maintenance routine that survives an inspection
Dust is the enemy of quiet cooling, and a flat with a fabric sofa and a carpet will fill your filters in about three months. Keep a soft brush and a can of air by the desk, blow the front filter out every couple of months, and wipe the top of the case when you wipe the shelf. It takes five minutes and it stops the machine turning into a noisy hot box halfway through the tenancy.
The teardown checklist for moving out
When the day comes, work through this in order and you will hand back a room that looks like nothing ever happened.
- Take photos of the walls and skirting on day one and again on the day you leave. The deposit scheme adjudicators care about before-and-after evidence more than anything you say.
- Remove adhesive clips with gentle heat and a slow parallel pull. Any sticky residue comes off with isopropyl alcohol on a cloth, tested on a hidden spot first.
- Clamps, velcro and free-standing trunking leave nothing at all, which is why we recommended them.
- Check behind the desk and under the cable tray for scuff marks and hoover properly. A single black mark on magnolia emulsion is the most common silly deduction there is.
- Flatten your component boxes and slide them under the bed rather than binning them. You will want them for the next move.
- For transport, take the GPU out and pack it separately, and keep the case upright in the car. Nothing ruins a moving day like a two-slot card bouncing around inside a suspended bracket.
The point is not to be paranoid about a deposit. It is that a setup built around clamps and velcro is genuinely just as good to use as one screwed to the wall, and it takes about twenty minutes to dismantle. Your rig gets a proper home, your landlord gets their walls back, and nobody has to argue about a £200 deduction for four small holes.